Hey EJR, thanks for posting up a video on how to clean the AR15 platform but I really like the way Ron L has been doing it so I took the liberty of taking a mess of photos so I could do a write up and that way the content is on the forum.
First unload your weapon in a safe area.
Second I use an Otis Buttstock cleaning kit. It is light weight and very compact which allows me to find a place for it in my kit.
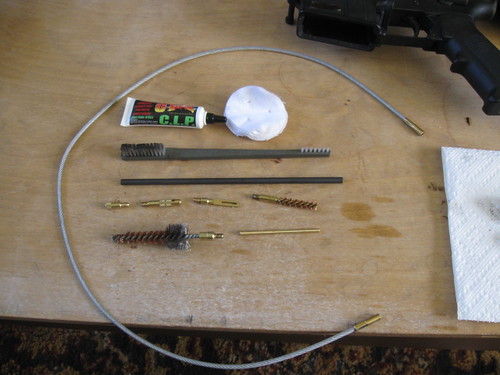
Like Ron says get your unloaded weapon, cleaning kit, large flat surface and I would like to add that I don't go anywhere without my loaded secondary.
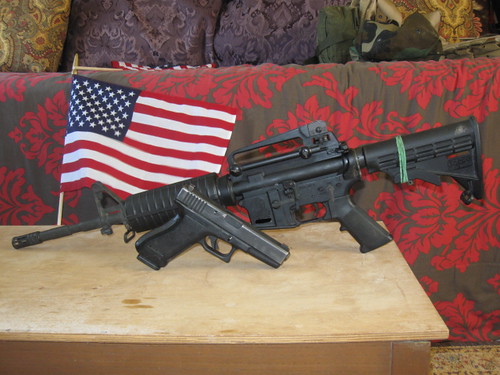
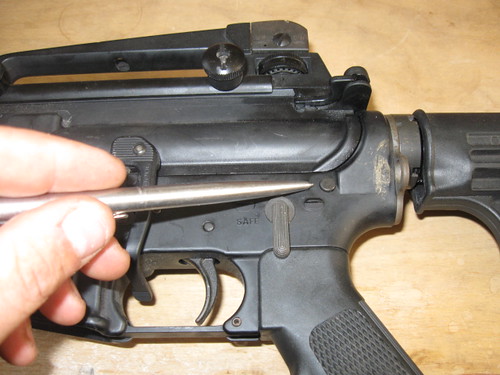
First thing you want to do is push out the rear takedown pin.
Then hinge open the rifle.
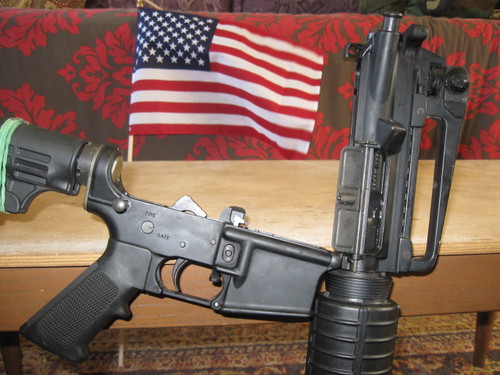
Then you are going to push out the front takedown pin.
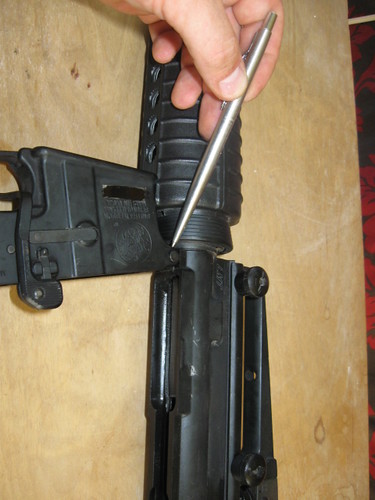
On a new rifle pushing out those pins will take some force, I liked to use a bullet as a tool to get that done but my rifle has worn in to the point that I can just push it out barehanded.
Congrats you just split your rifle.
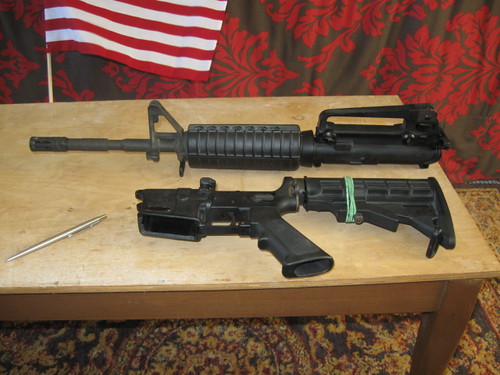
Now you are going to pull the charging handle and the bolt carrier group (BCG) out of the gun.. Don't drop the BCG! It will leave a black spot on your wife's carpet at the best and could damage it at the worst.
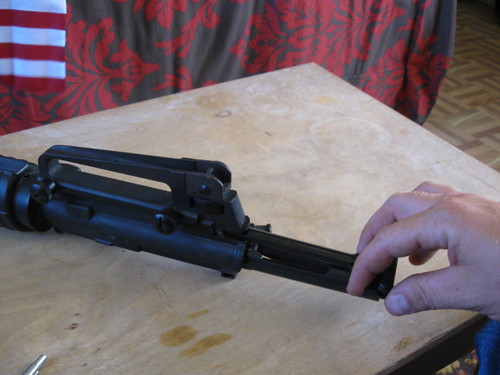
Now set the Upper and Charging handle to the side. Then you are going to want to pull out the Firing Pin Retaining Pin (allow myself to introduce... myself) and set aside.
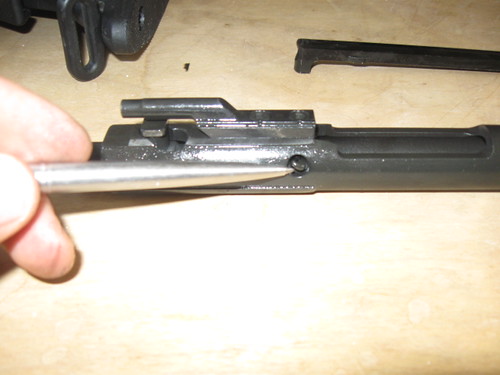
Next you are going to want to pull out the Firing Pin. I thump the BCG in the palm of my hand (bolt up) until the pin comes out as you can see it's a hard one to grab.
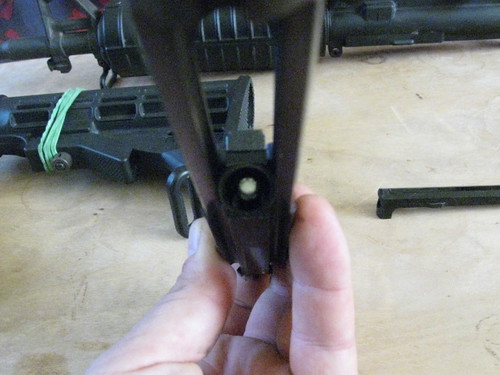
You are now ready to pull the Bolt Cam Pin. This is a tricky little devil. First you rotate it 90 degrees and push the Bolt back into the Carrier which rotates the BCP out from underneith the Gas Key.
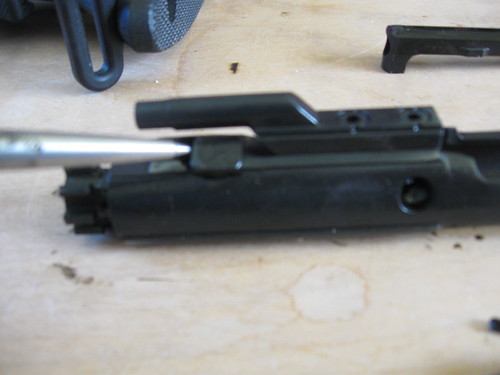
After that the Bolt pulls out of the Carrier and here is what all those dirty little parts look like laid out.

Alot of guys like to run a swab though first but I always pull my brush though first. Seems to me like breaking up all that crap first it is a better way to go. Another thing I really like about the Otis system is that by cleaning from the bore to muzzle you can avoid damaging the crown of the rifle.
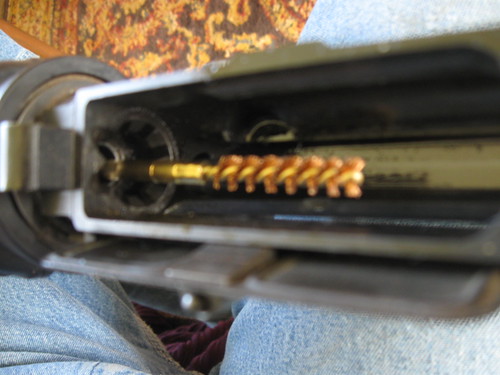
Then I pull a patch or two well soaked in CLP though the barrel. Just keep pulling patches though till they come out clean.
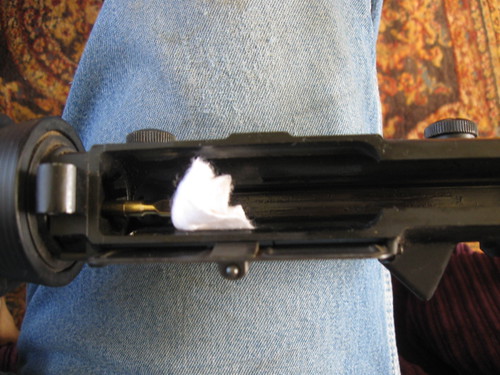
Now set up your Bore Jag and handle.
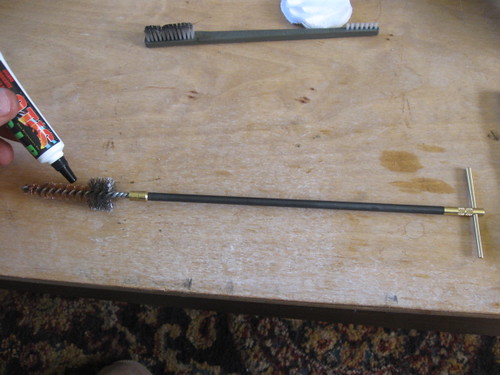
And clean the Bore. In and out Round and Round.
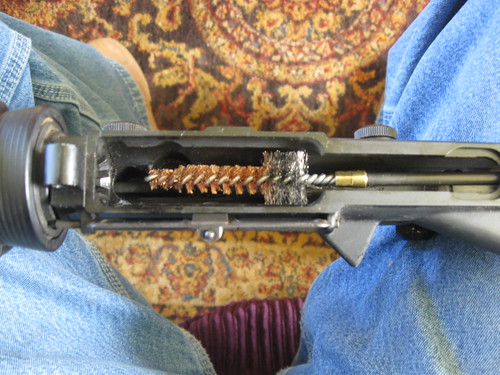
In and out Round and Round.
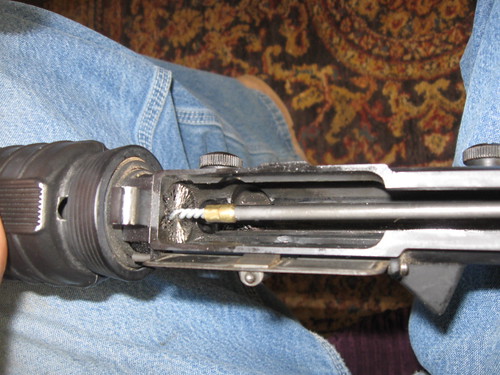
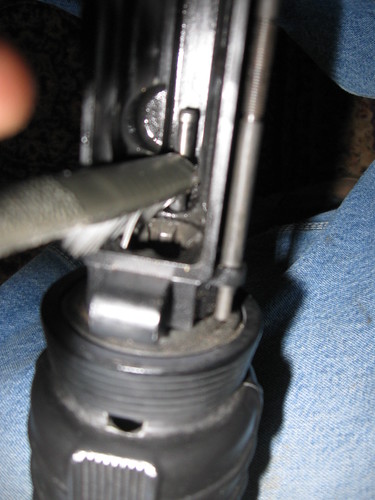
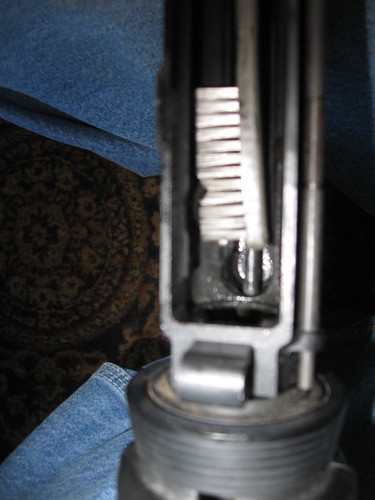
Now put the Patch Jag back on the handle and with a patch well soaked in CLP clean the inside of the upper reciever.
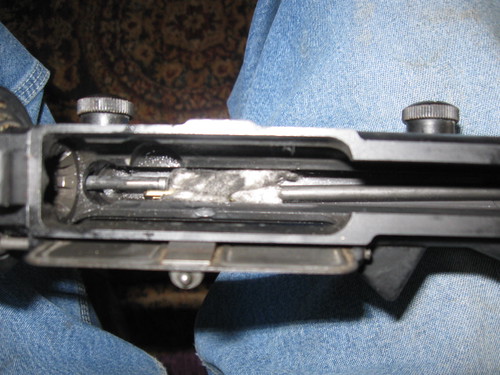
Feel free to use the Tooth Brush to clean the spots that don't want to come clean
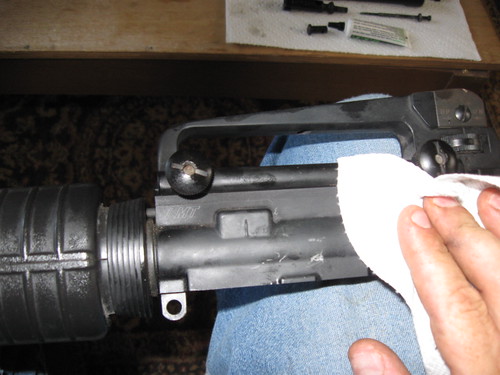
Wipe down the outside of the upper with a rag that is wet with CLP.
With the same rag that is wet with CLP I wipe down the small parts of the bolt. Then I use the brush to clean between the Lugs.
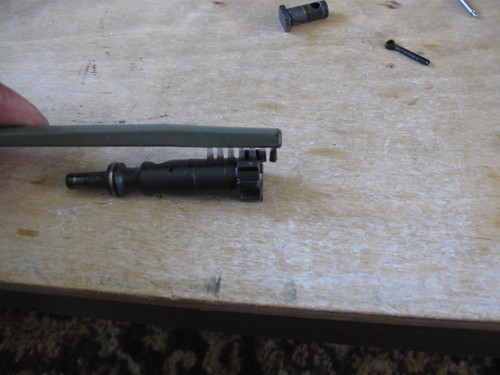
And the Shoulder of the Bolt, which gets carbon fouling on it along with the Gas Rings.

Once all small parts are cleaned I wipe down the Bolt Carrier Group inside and out. I use the Jags and Brushs for that.
Because we have cleaned all these parts with CLP we can assemble them without additonal lube (just reverse the order in which you took them out) except the rails on the BCG and the charging handle on which I use Ford-Lincoln-Mercury Moly Grease. The amount on my finger is about three times what you need.
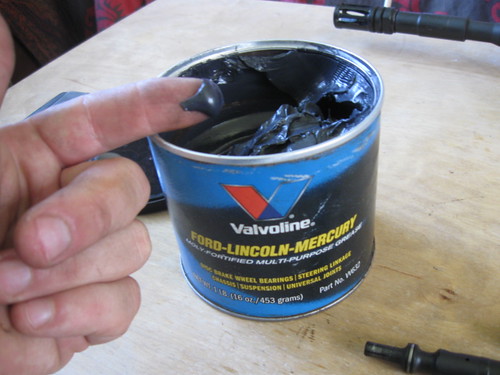
These rails
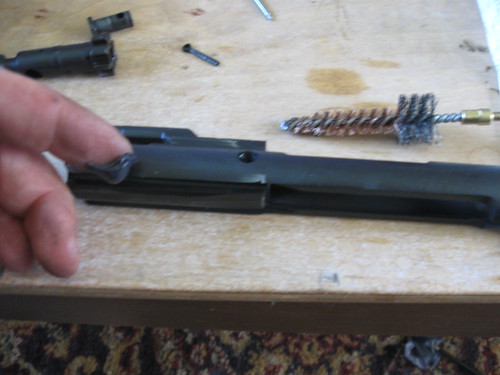
One things I like to do before I put the BCG back into the rifle is to stand it up in the Bolt Face and if the Bolt won't hold up the weight of the Carrier then your gas rings are bad.
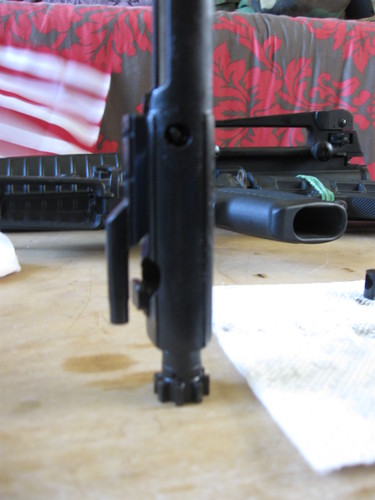
Then you can put the Charging Handle back into the rifle and then the BCG and reattach the upper to the lower. In the same manner as you took it apart.
And there you go with a clean rifle.
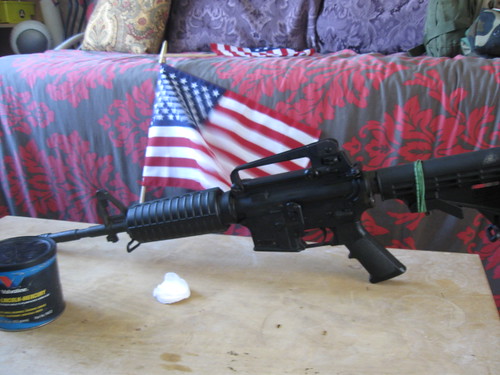
Maybe I will fill in the missing photos one day but its getting late and I am getting tired of writing this how to.. Damn Ron, alot of work goes into these!