Hello all, Ron L here, I told everyone once I completed the Food and Water Posts I thought critital to a Prepardness minded folks skill set, that I'd do a few on weapons here is #1 1911A1 Handgun Field strip and Inspect:
OK, the 1911A1, one of the Greatest Handguns known to man, this one is in 45ACP, but can also be had in 9MM, 38 Super and other cartridges and the breakdown is all about the same:
1911A1, as it's in the holster on my Hip 24/7 when not carry a BHP or my 38 snub:
PIC #1
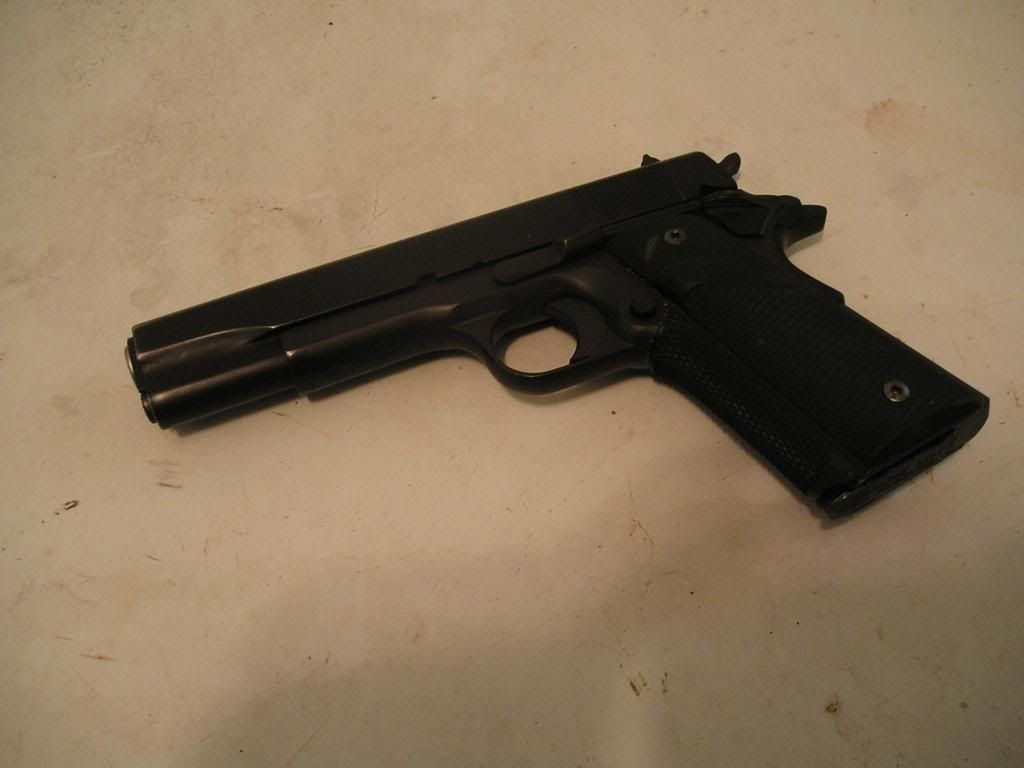
OK, Lets start to Break it down, shall we? As Safety should also always be FIRST, lets check and see it safe to hand shall we? Pull the slide to the rear with a magazine locked in place and lock the slide to the rear. then tilt handgun up and see if the chamber and slide area locked back is empty of 45 shells, if so, remove magazine and set aside as in pic:
PIC # 2
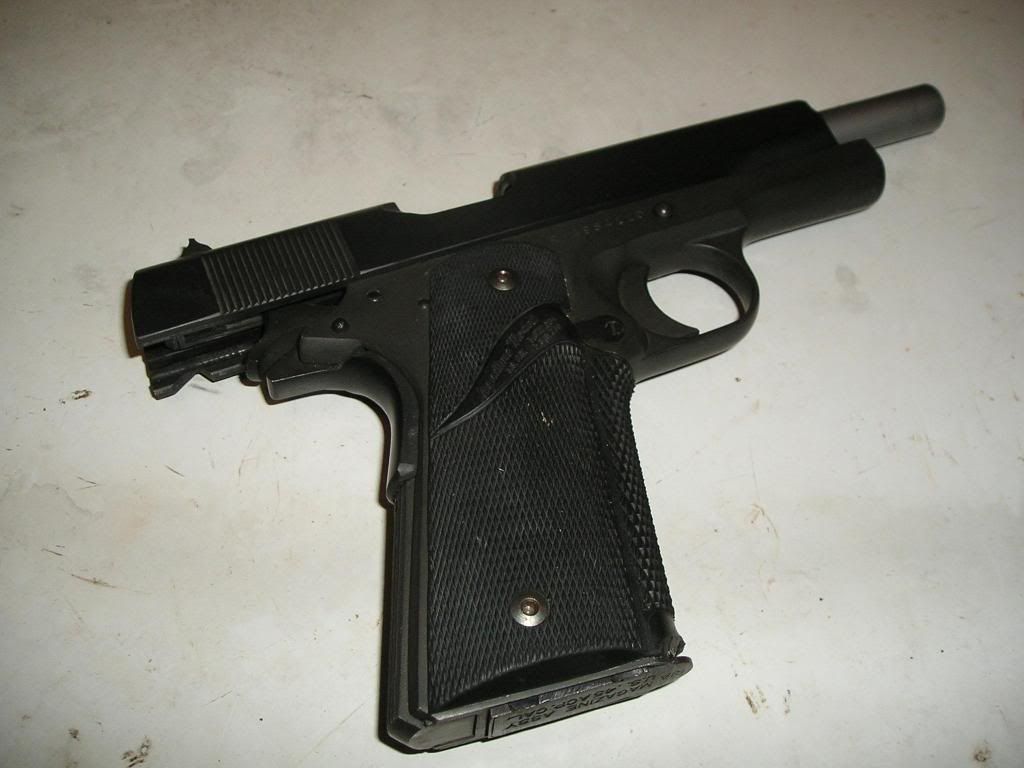
Ok, magazine and chamber area of barrel in pic is empty we can prodceed:
PIC #3
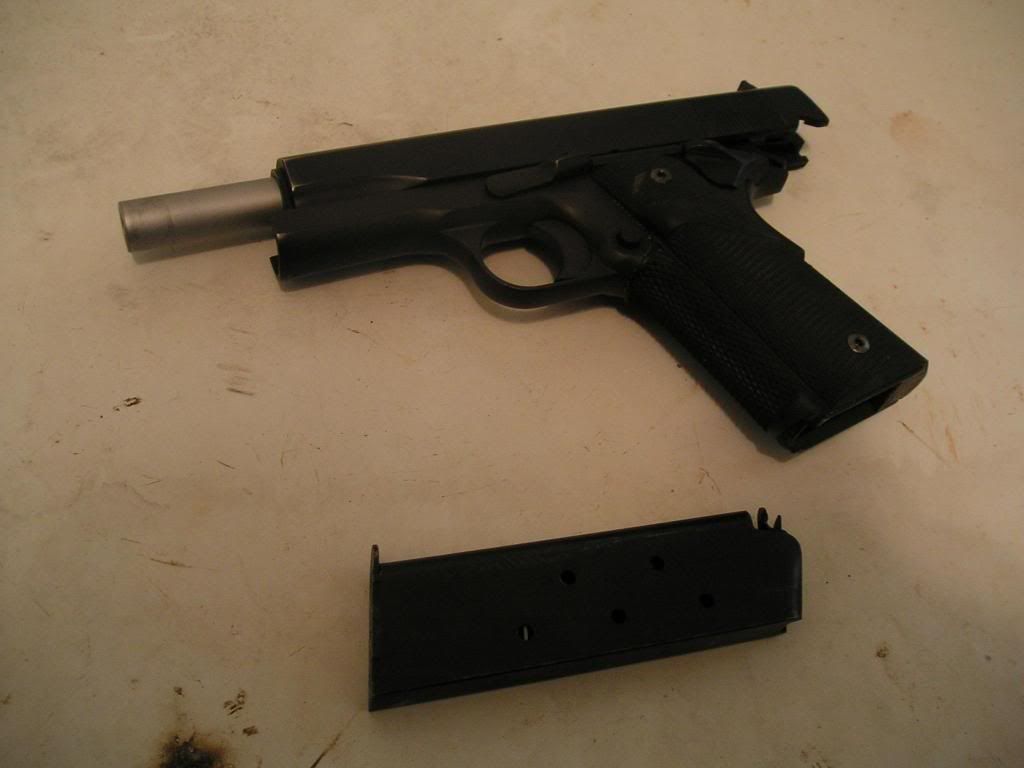
Push on the Recoil spring Plunger and Rotate the Barrel collet so we can alow the Plug cap and spring to move forward as in
pic: # 4
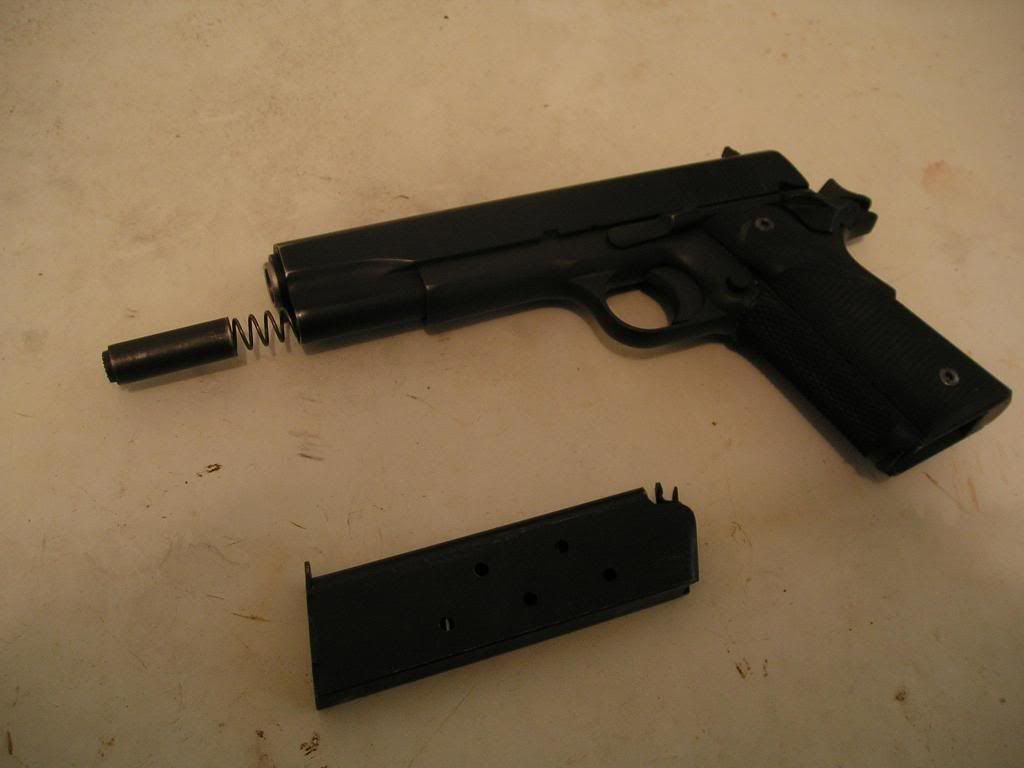
You can remove the cap from the recoil spring but thats not 100% necessary
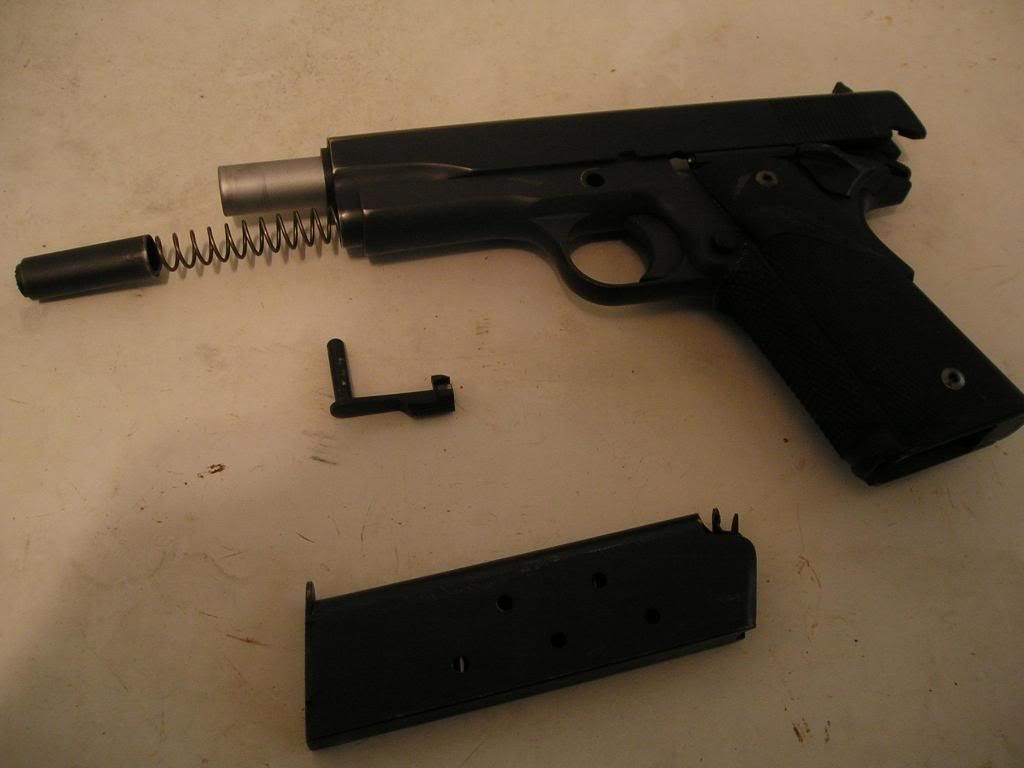
Now Pull the slide back to where the Second Notch on the slide is located so we can push out on the Slide stop pin and remove it, place by parts as in
pic # 5:
:
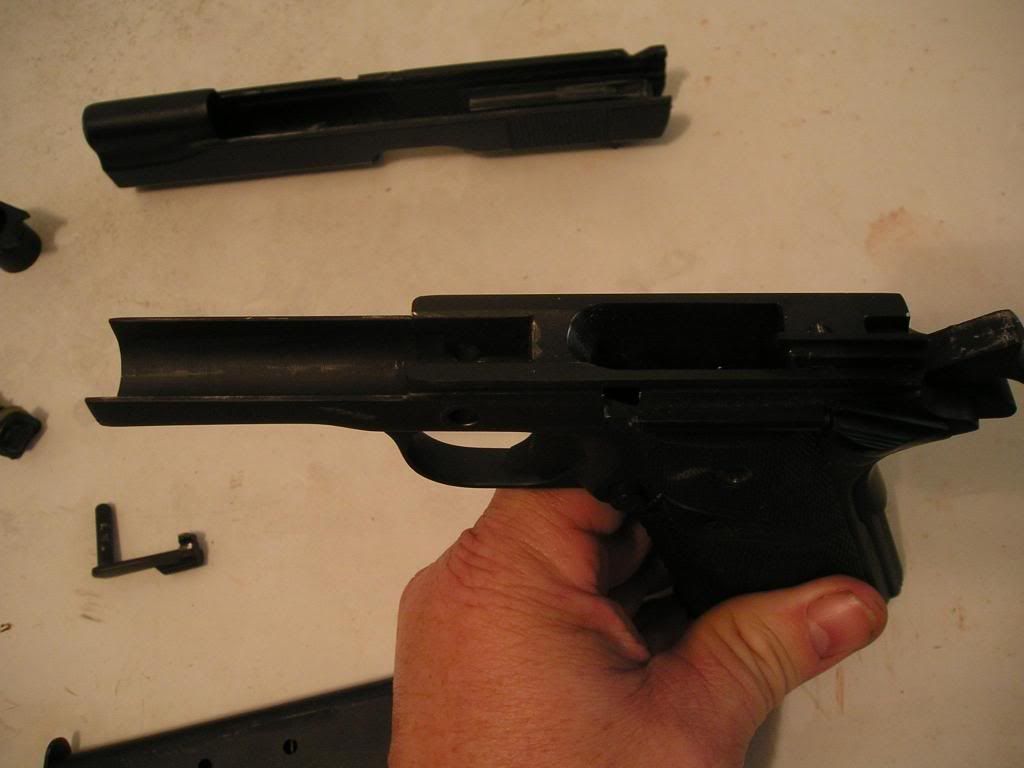
Now that we have the Slide stop free and clear lets slide the Slide and barrel assembly off the Receiver and place by the Frame and parts as in
pic # 6

It's time to remove the small parts from the slide pull the barrel bushing off the barrel and place to the side, remove the cap from the recol spring assembly and set down as in pic, if you have done all this you should have a pile of parts like in the Pic # 7:
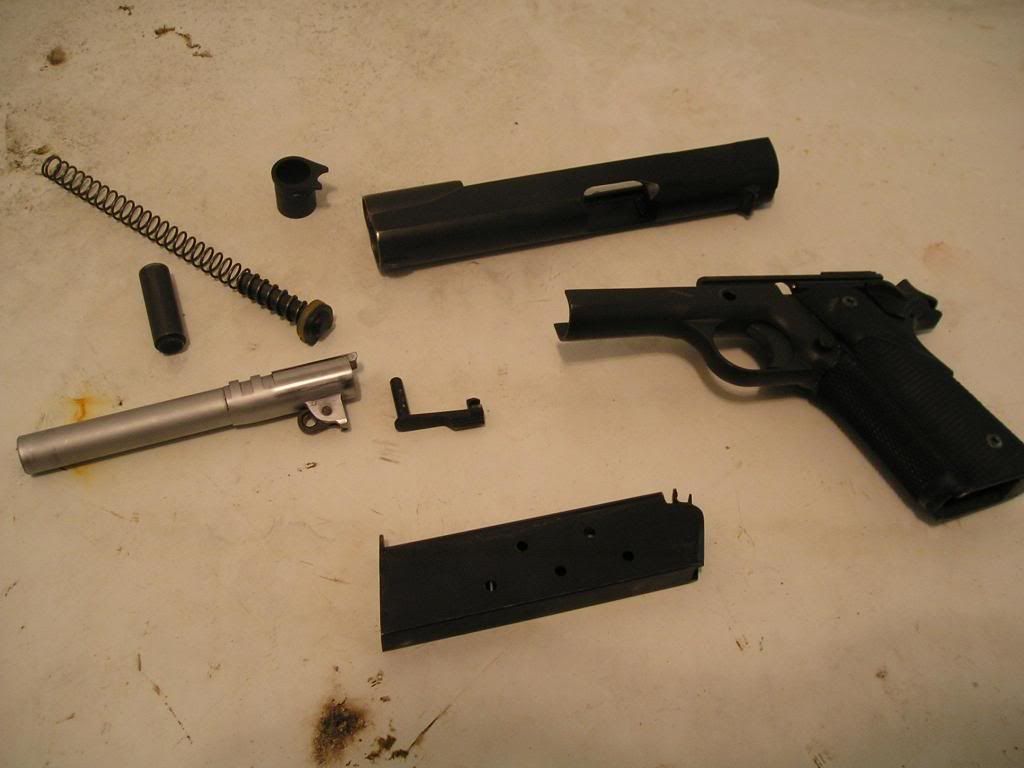
Then, I like to do an external examiniation on part Prior to cleaning them, look at all the parts and look for dirt, grit, broken and bent parts and assembly sand not for further action after cleaning
Now that we have the Slide off lets examine the internal surface area's on this , is it dirty, dings, nicks excessive wear and all, (Some Minor Polishing of parts is normal), if any bad conditions are observed note them so after cleaning we might effect repairs?
Pic # 8
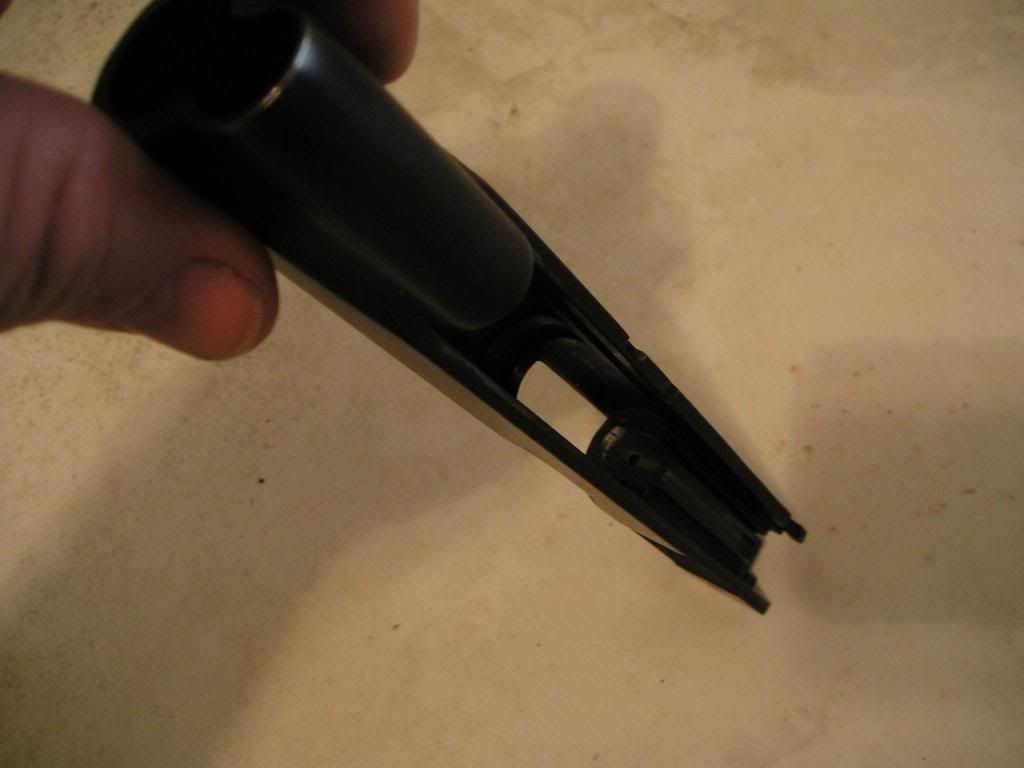
Pic # 9/10/11
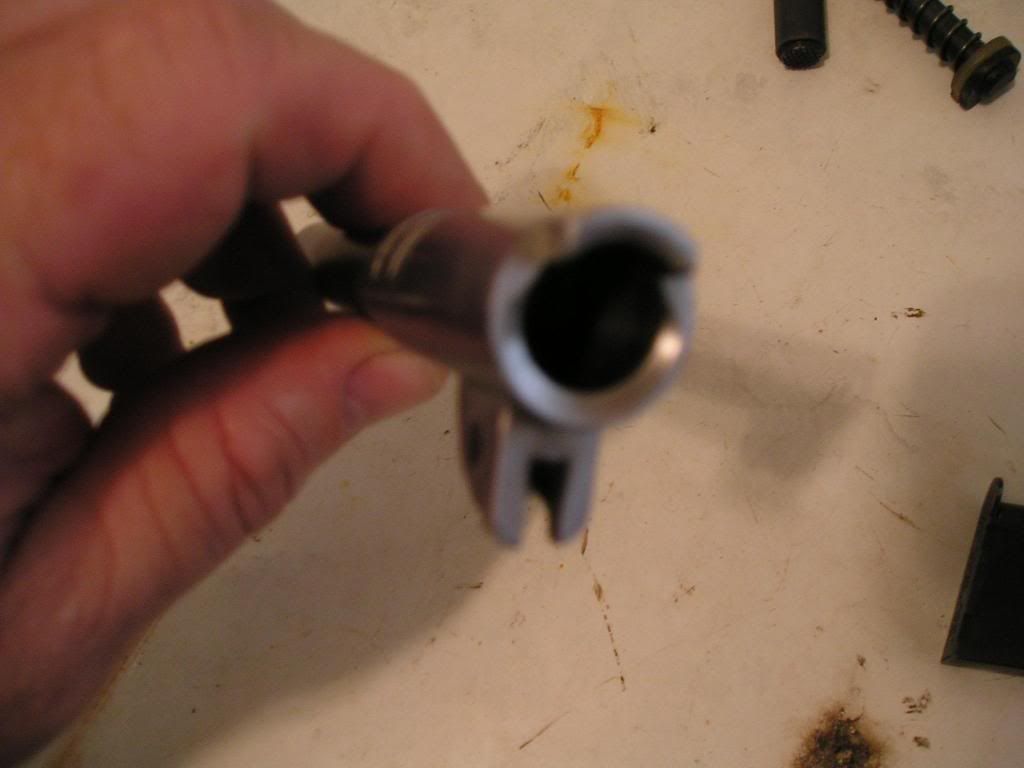
Unit 1B will address cleaning and maintenance of the handgun, Unit 2 will talk about Normal spare parts expected to need replacement and should be set aside for support of the fiream. This unit will address cost, avalablity of those parts and what one can obtain from a gun show or a few parts suppliers we also will address in the unit!
The 1911 has been in service since WW1, it saw extensive service in all branches of the militay till about 1985 when it was replaced with the M-9/M-92 9MM Beretta Pistol! As Many special units stil use the 1911A1 and Law Enforcment has once again started use of the fine pistols! Proper use and maintenance of these guns will ensure that you have the chance to hand down to your grandsons and Grandaughters. They will last past your lifetime with simple cleaning and small parts support.
While the Browning High Power in 9MM is simular, I will address field strip and support of that pistol at a later date, much of the cleaning and maintenance covered in later units will be simular. Ditto many other semi-auto handguns. It takes only a few Minutes simple gear to accomplish and worth it's weight in gold when the chips are down?