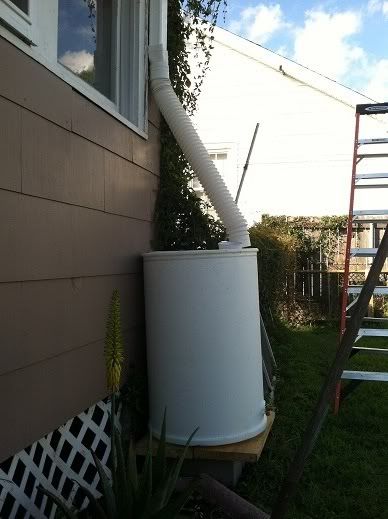
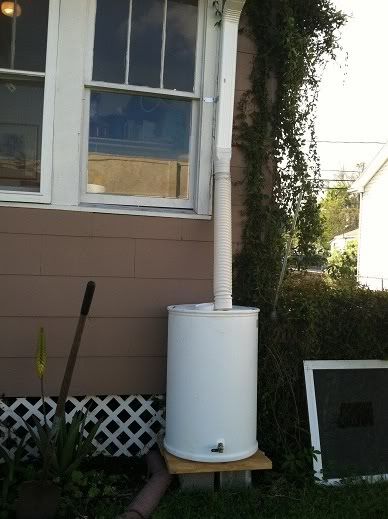
this will be my official "winging it" first attempt at a rainwater harvesting set-up.
DISCLAIMER: I made at least one or two mistakes, but they'll be included in this write-up so you can learn from them. There are undoubtedly MANY different ways to achieve the same end product, but this is simply how i did it.OK! now we're ready to get started harvesting some rainwater!
First, you'll need to be at least this sexy:

after that's out of the way....
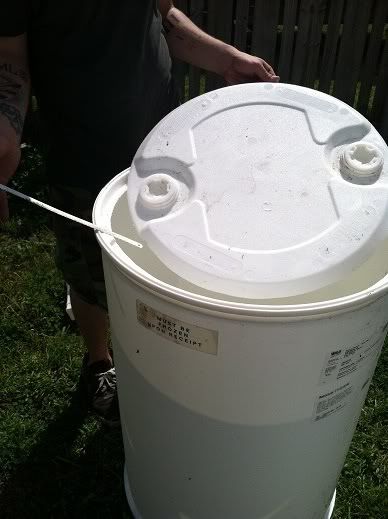
depending on what type of drum you've gotten your hands on, you may need to cut the top off and fabricate your own lid. In my case, the drum was not one with a removable lid, so I had to do some cutting.
I drilled a 1/2" hole right next to the rim of the drum on the top and used a hacksaw blade to make the circular cut around the top of the drum to form the lid. This ten minute process would have been far more efficient with the aid of a reciprocating saw but such luxuries were not available.
Next, I moved on to the spigot.
There's not much to it really. The spigot I chose is 3/4" ID (inside diameter) so I used a 1" paddle bit to accommodate the outside diameter of the threaded fitting. It was a fairly snug fit with the threads just barely cutting into the plastic. Perfect. (or so I thought)
This was a mistake.I planned on squeezing the plastic between the spigot itself and the female fitting inside the drum. This would have been a logical plan if I were actually able to "bottom-out" the two pieces tightly onto the wall of the drum. But alas, the cheap Chinese-made crap wouldn't bottom-out (poorly cut threads? idunno) so my spigot ended up "tight" but not as solid as I'd hoped. So what did I do? I Gorilla-glued that sumbitch. (on the outside) ...and once that was dry, I covered that with some silicone weather-proofing sealant outside and inside the drum.
Lesson learned. for a 3/4" spigot, use a 7/8" paddle bit. The hole will seem to be too small, but that's actually what you want. Force the threads to cut into the plastic wall of the drum by firmly pushing and twisting simultaneously until the threads "bite". This should give you a good tight fit and a water-tight seal all by itself without having to go through all the trouble I went through. (side note: you may also want to pick up a few appropriately sized rubber washers or gaskets so you don't have to worry about silicone sealant)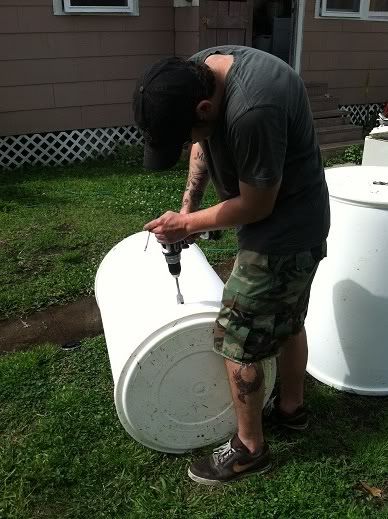
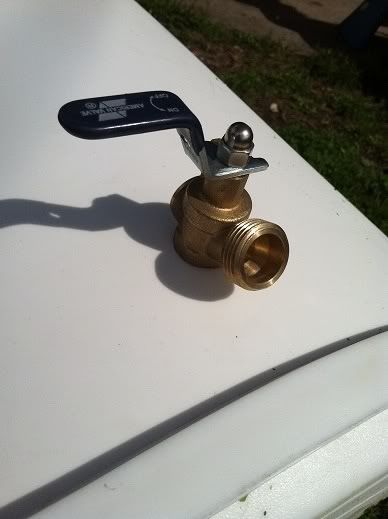
(it's a nice touch to make sure that the size of your spigot corresponds with the size of your garden hose. Of course, this isn't a necessity, but it's convenient, and it only takes a couple seconds to check and make sure.)
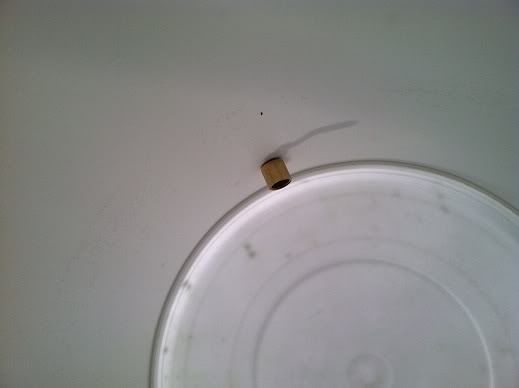
Back up to the top-side of the drum, I needed a mechanism for securing my lid into place. I bought some generic sheet-metal brackets and cut four of them to the size I wanted with tin-snips (sheet metal sheers), then screwed them into the outside of the lid allowing about 1/4" of each bracket to hang over the outside edge of the lid. I honestly don't see why it would be necessary to secure the lid to the drum. The weight of the lid itself should be plenty enough to keep it securely in place. I still haven't decided whether or not it will be necessary to seal the lid in place with silicone. As of this point, I have not. I'm pretty sure screws aren't necessary to secure the lid, but I still keep an open mind and an open eye for the possibility of sealing the cut-line with silicone. I'll modify this part of the write-up in the future if I discover that it is necessary to seal the lid.
Obviously, this step is irrelevant if your drum has a removable lid.Update: 5/11/2012 - make sure that the platform you build that your drum will sit on is LEVEL. In my case, the platform is slightly off-level. I have it positioned right next to the wall of the house. Because it's off level, when the drum fills up all the weight of the water makes it lean against the house. Not really a big deal except all that pressure against the wall caused the top of the drum to warp, thus rendering my home-made lid useless.
Now up to the roof.
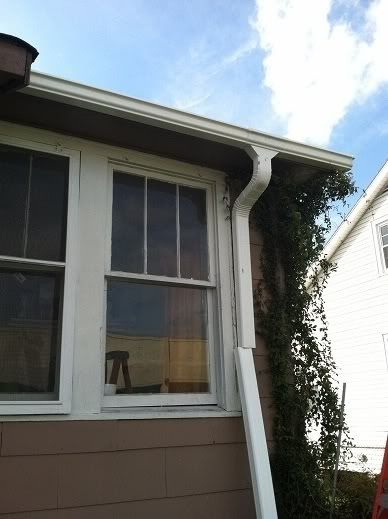
If your house already has rain gutters then you're all set. All you have to do is re-route your downspout to feed your new water drum. In my case, my house didn't come equipped with said water-catching capabilities (and I wasn't about to solicit my landlord for some gutters) so I went to my friendly neighborhood big-box home-improvement super-colossal-mega-plex and picked up some vinyl rain gutters. (I won't cover the installation of the gutters simply because it's really easy and if you can't figure that much out on your own then you probably won't survive 5 minutes after SHTF anyway)
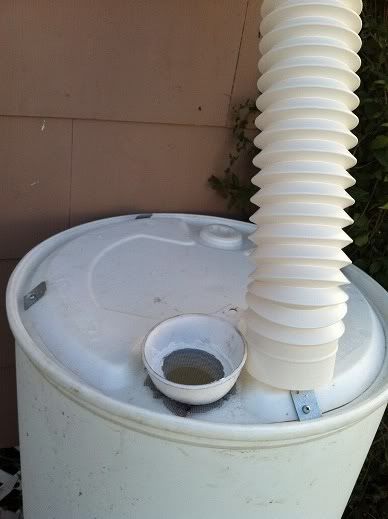
Next, I cut a small sheet of window screen to fit over the intake hole in the lid. I used tie-wire/ceiling wire/whatever you feel like using to fasten the window screen over the intake hole. This should, in theory, keep out the skeeters and their damn eggs. (I don't know about your AO but around here, a skeeter-farm is frowned upon)
This is where I had to get a little creative.
I used a flexible gutter downspout to make the connection between my fixed downspout and the intake of my drum. Fabricating some kind of firm connection at the mouth of the intake would have been entirely too much work for this project so I settled with this...
I locked a plastic funnel which I've used for years as my motor oil funnel for my truck into the vise on my work bench (after I cleaned it of course) and used a hacksaw to slice off the narrow side of the funnel. It took a few failed attempts before I finally cut off enough of the funnel's diameter that it finally fit snugly around the intake hole of the lid on my drum. I then sealed the perimeter of the connection with the same weatherproof sealant that I used on the spigot.

Now I'm just waiting for some damn rain....
