Here's a post I did three years or so ago
Meat rocks: The base of almost all of my trail meals.Alright, this is something I've been doing since I was a kid camping out with my dad.
Making meat rocks and using them for meals. Basically, what you are making are cooked, dried, beef crumbles.
When properly made and properly stored, meat rocks will last for years to come. They are a perfect addition to your camping/backpacking/apocalypse stockpiles.
Get yourself some lean ground beef. The leaner the better (you'll see why in a minute). Normally, I try to stick to 90%+ fat free, but since 85/15 beef was on sale for $1.99 a pound I went with that.
First, brown your ground beef like you normally would, on medium/medium high heat in a skillet. About a pound or so at a time works well. If you want to flavor your beef with pepper you can do so now, so they'll be more tasty later--kind of a "dual use"
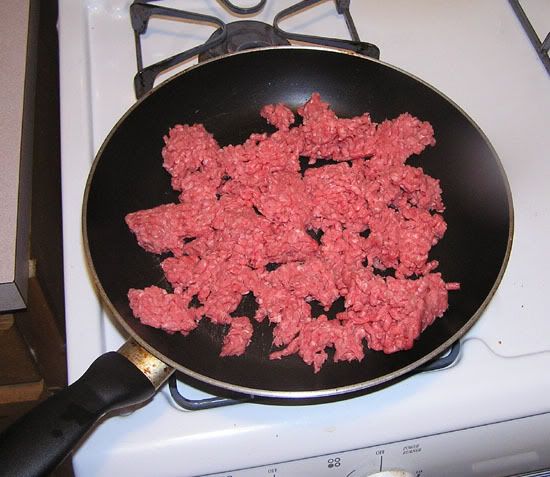
Use a spatula to break up the beef as it cooks. Try to make uniform pieces

To make the pieces very even, I like to use a pastry cutter when the beef is nearly finished
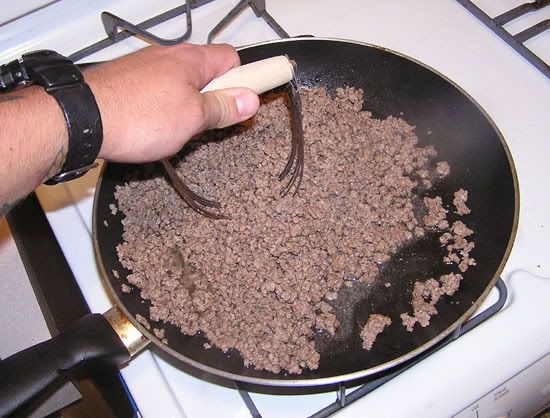
Turn off the heat when it's fully cooked. Now, you have a bit of fat in the beef. This is why leaner beef is always better. Drain the fat off. I like to use a dollar store turkey baster for this
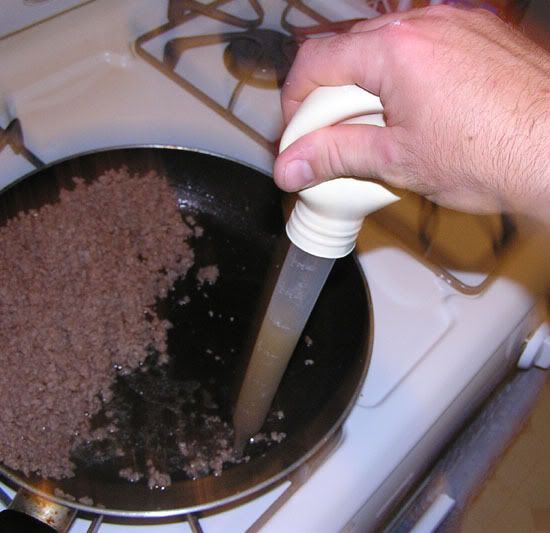
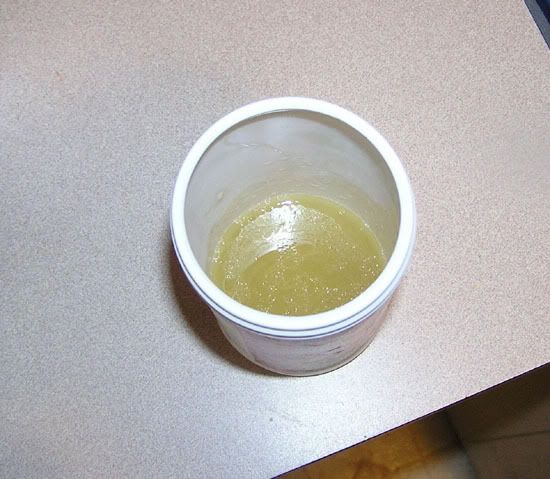
Keep taking the fat and oils off the meat until it's pretty dry. I like to save the fat in a container (tin cans work nicely, although I'm using a plastic concentrated juice container) and put it in the freezer for either safe disposal or later use. I got a lot of fat off this meat since I used the 85/15 stuff.
Next, you want to drain off more oil. If the meat has too much fat and oil on it, it will quickly grow rancid. Set the cooked ground beef on brown paper bags for additional draining, as shown
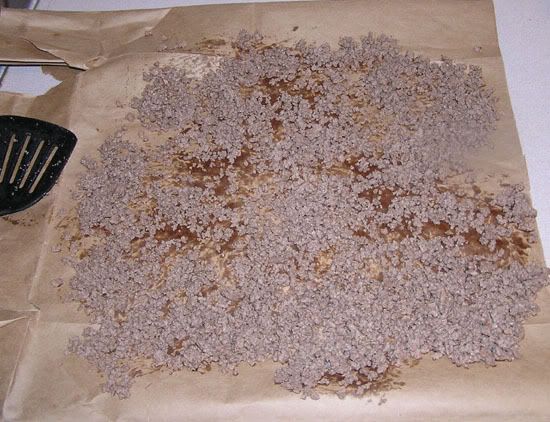
After an hour or so, it's time to dehydrate. Now, if you have an electric oven, you do not need a food dehydrator for this step. Simply layer the cooked brown beef in a single layer on a cookie sheet and put them in an oven on the "low" setting, usually around 120 degrees or so for 6-8 hours. Since I have a gas oven and my minimum heat is ~170 degrees, I use a dehydrator.
You want to use the "fruit roll-up" sheet with your dehydrator. Since a pound of beef will cover more than that sheet, simply cover the other sheets with aluminum foil and setup the dehydrator.
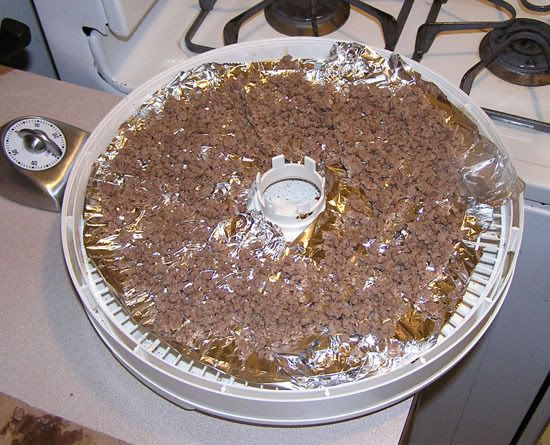
It will take 4-6 hours on the "Beef Jerky" (~140-150 degrees F) setting until you have nice, dry crumbles.
Now what to do with the now greasy brown paper?
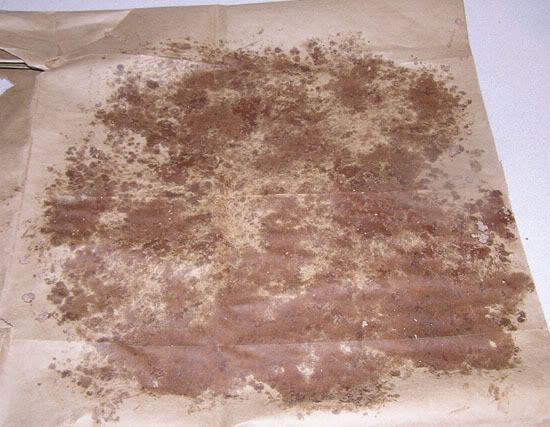
Remove all little specs of beef from the paper and cut it into strips
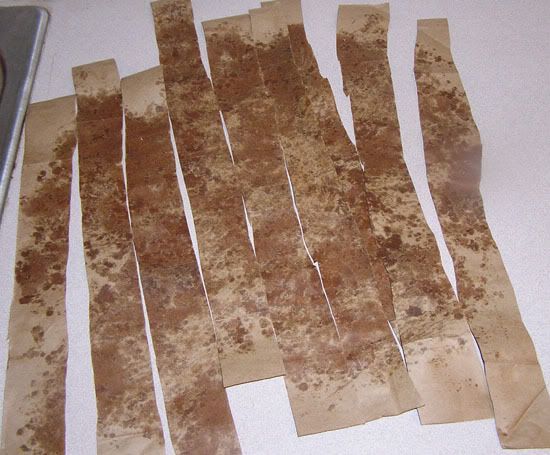
Roll up the strips and place them in a ziplock bag (try to take all of the air out) or in a vacuum sealer bag and put them in the freezer. These will last outside of a freezer for maybe 5-7 days before they go rancid, so put them in your pack right before you go camping/backpacking/apocalypse. They make
great fire starters and burn for a while.
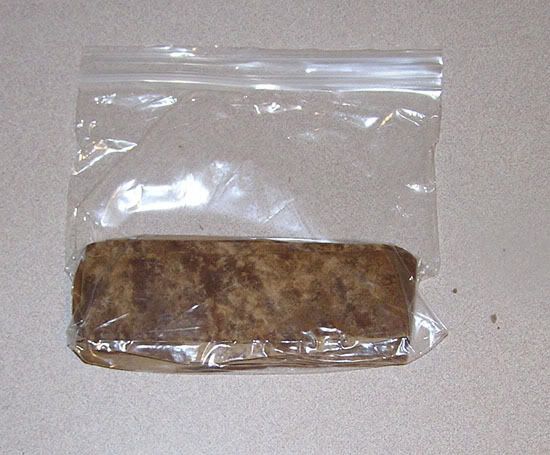
In a few hours when the beef is done, I'll show you a couple of my favorite recipes that use meat rocks. Here's a little preview
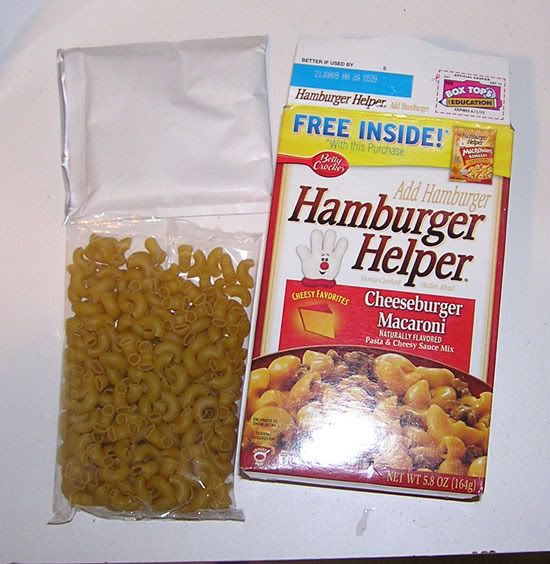
I normally use "Valuetime" hamburger helper, but since these were on sale for $.75 a pop I'll use this one. I have a lot of recipes that use meat rocks.
Here are the meat rocks when they've been completely dehydrated:
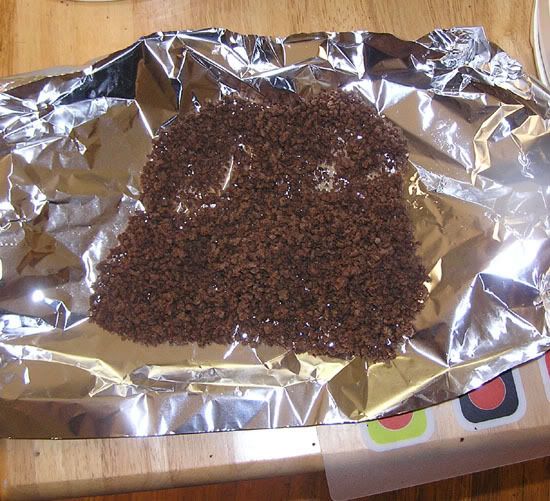
Time for cooking!
I only used a handful of the meat rocks for this dish, probably around 40% or so. The rest were put in a vacuum bag and put into the freezer.
The cooking goods:
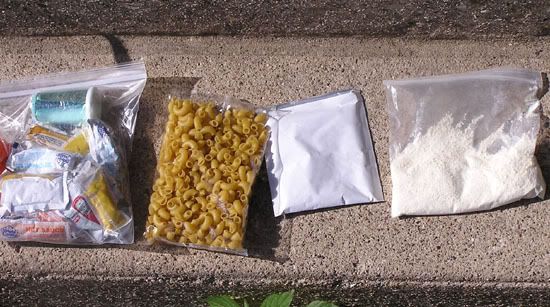
We have a ziplock bag full of condiments, the sauce mix, the pasta, and some powdered milk (optional)
I'm using a Peak1 stove. My only complaint is that the burner is directly attached to the fuel can--so if you run out of fuel mid boil you have to wait until the stove cools down to put a new fuel can on. I'm currently working on a stand-alone stove.
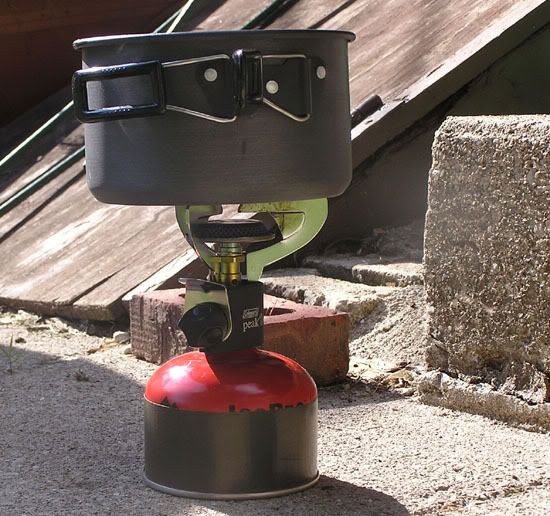 THIS IS A CRUCIAL STEP
The main complaint about meat rocks is they do not re-hydrate during cooking and are therefore too crunchy. To prevent this, put your meat rocks into the water as you are heating it up (not at the boil) as shown below and cover:
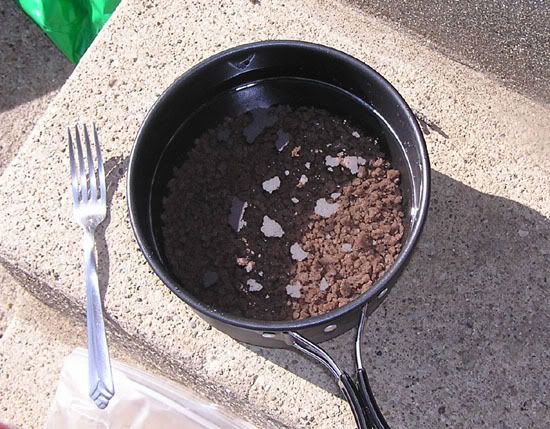
You're going to want to add at least 50% more water than the recipe asks for to compensate for the water that the meat rocks absorb.
When the water and meat rocks come to a boil, add your pasta and sauce immediately. Stir briskly and bring back to a boil.
Boil uncovered for ~10 minutes, stirring often. It should look like this

Once the mixture has thickened and the noodles are floating to the top, reduce heat and simmer for 5 minutes or so:
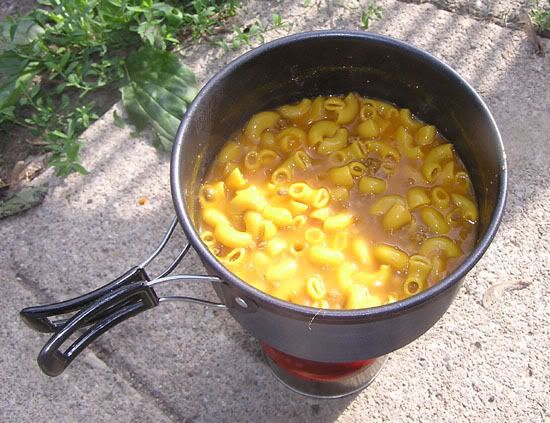
After this, remove from heat and let it thicken (covered). Spice as needed and enjoy! This should feed at least two people on the trail (walking makes you hungry!)
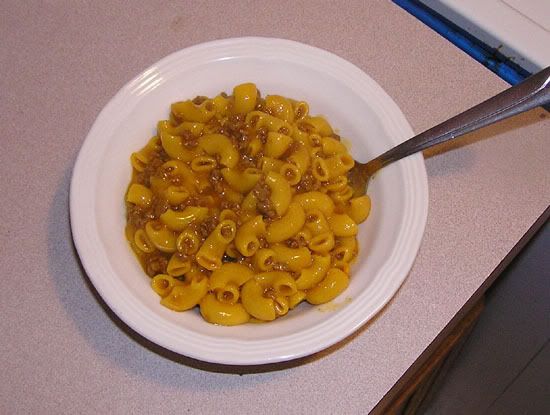
Meat rocks are also good with ramen (ghetto yakasoba with the rocks in it), macaroni, soups, and about everything else. Tons of variations. Because they are dehydrated, they are lightweight and are hard to spoil.